How to color your hair at home without totally ruining it
If you’re a fan of trying out new looks and makeover, changing your hair color is definitely one of the most important steps (if not a must!), for achieving that total transformative element in your outfits and styling. However, there’s no denying that it’s a pretty expensive process, and salons fully take advantage of that … Continued
If you’re a fan of trying out new looks and makeover, changing your hair color is definitely one of the most important steps (if not a must!), for achieving that total transformative element in your outfits and styling. However, there’s no denying that it’s a pretty expensive process, and salons fully take advantage of that statement. If you want to dye your hair — but don’t want to spend that chunk of your paycheck at the salon — we’ve got some news for you. Follow our foolproof ways to dye your hair at home, completely free of cost save for some essential hair dyeing products, to get results that are just as wow. With very little to lose, and a new look to gain, gear up and follow our steps already!
Step 1: Picking the color that you want
If you’d ask us, this is perhaps the hardest part of the dyeing process… it’s even harder than the actual dyeing! It’s a nerve wracking process to pick out a color that you’ll basically have for the next couple of months or so. Thankfully, you can now use tech to make sure that you’re making the right choice! Use a makeup editor or Photoshop to edit your photos and give your hair a new color that you absolutely adore. Once you’ve made the choice, it’s going to be smooth sailing.
Step 2: Picking the best hair dye
Artificial hair dyes are notorious for causing terrible skin irritations, as well as triggering allergies, so natural hair dyes like henna (which gives you a head full of bright red or muted ginger red hair, depending on your hair color and the henna type) that are completely side-effect free take the cake for us. However, the color selection of natural hair dyes is super limited, and if you can’t find a color that you love, certain name-brand hair dyes also offer some amazing quality hair dyes and a huge color selection.
Step 3: Skip the hair wash on dyeing day
Yes, while washing your hair may seem like the right way to do this, you do want to make sure you have a slight barrier between your scalp and the dye.
Step 4: Assemble the protective gear
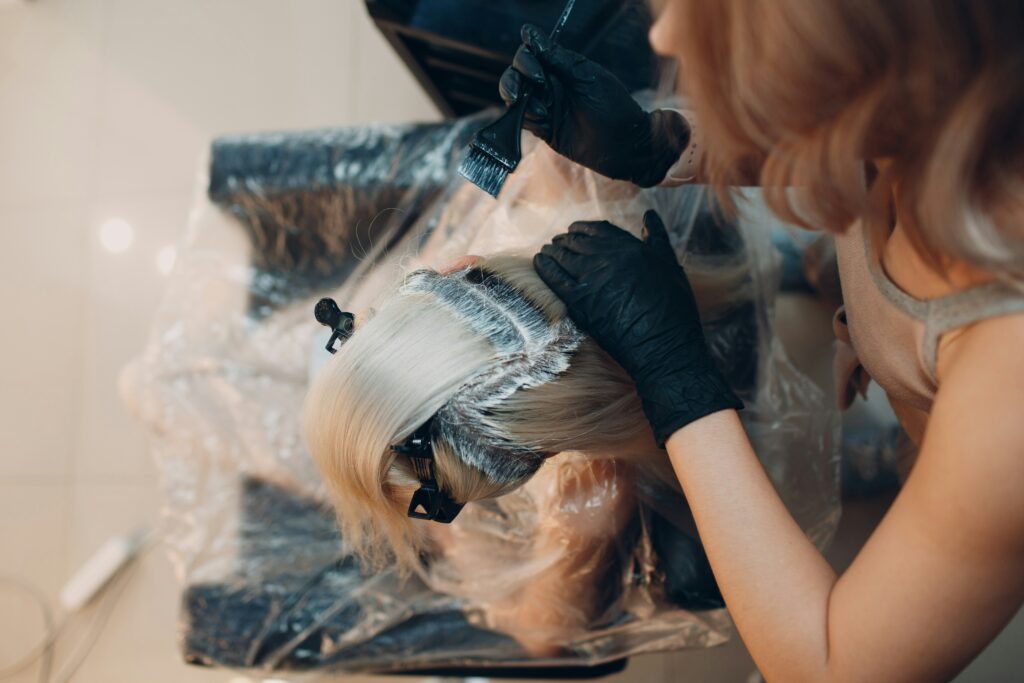
The protective gear is prime to ensure the cleanest and mess-free dying experience. Don’t forget to wear your gloves and wrap a towel around your shoulder to ensure that it catches any excess hair dye falling off.

Step 5: Brush your hair well
Brushing your hair will make dying it a breeze, and will also ensure that the dye coats your hair evenly.
Step 6: Coat out your hair and neckline with Vaseline
This step ensures that you don’t have any hair dye in places where you don’t want it to be, i.e., your skin. Vaseline allows the unwanted dye to get washed off easily.
Step 7: Pay attention while mixing your hair dye
If you’re using packaged hair dye, make sure that you mix it while following the instructions on the packaging word-for-word.
Step 8: The actual dyeing
Part your hair out into four different sections. Use strong clips (salon clips are highly preferable) to clasp each section and keep them firmly apart. If you’re doing this for the first time, start applying the dye, one section at a time, at least one inch above your roots. Check out your hair dye’s packaging for specifics, or if you’re using a natural alternative, thirty minutes to an hour should be perfect. Rinse the remnants off. Then just wash out your hair and dry it like you normally do.

And voila! Enjoy your new hair. Yep, it was that simple — you now have swoon-worthy locks, without needing to step into a hair salon!


